
Screen capture uploading to FTH Support
How to take and upload a screen capture to the FreeToastHost support forums.
- It is frequently helpful to see what a user is seeing on their screen when trying to help them resolve a problem with their website. This article describes how to capture your screen to a file, then upload it as an attachment to a support forum message.
- In Microsoft Windows, there is a great accessory included called the Snipping Tool (now called "Snip & Sketch") that greatly simplifies taking screen captures from part of the screen. Read here for details on this: MS Windows Snipping Tool
- If you are using an Apple computer, the basic instructions for taking a screen capture are here. The general process is to capture the screen, then paste the captured image into an image editor (like the Apple Photos app, MS Paint, or similar), crop the image to the desired size, then save the image to a file in a location that you can remember and retrieve from below (in Step #6).
- If you are using an Apple computer, the basic instructions for taking a screen capture are here. The general process is to capture the screen, then paste the captured image into an image editor (like the Apple Photos app, MS Paint, or similar), crop the image to the desired size, then save the image to a file in a location that you can remember and retrieve from below (in Step #6).
- In MS Windows, you can activate the Snip & Sketch capture menu by pressing the Windows + Shift + S keys at the same time. You should then see a menu at the top of your screen that will allow you to select the part of the screen to capture.
- Once you have selected the desired part of the screen, the Snip and Sketch program should open with the captured screen image loaded to allow you to annotate and/or crop the image. In the image below, the crop icon is circled in red.

- Once you have finished modifying the captured image, save it using the save icon (circled in blue above). Save the resulting picture as a jpeg file, with a meaningful name, noting where it is saved to. If you have a difficult time following the folders, save it to your desktop.
- Log in to the FTH2 support forum.
- Click on new topic, and enter the subject of your problem or question.
- Enter the message, making sure you have also supplied your club number.
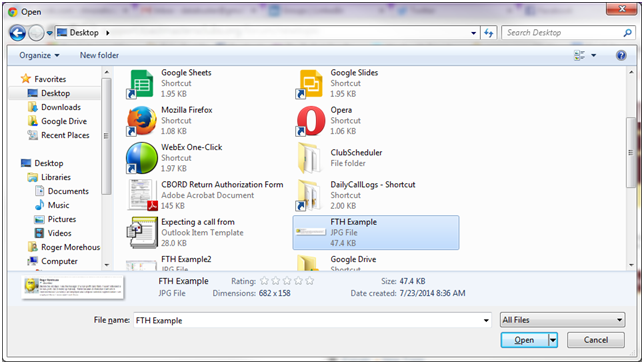
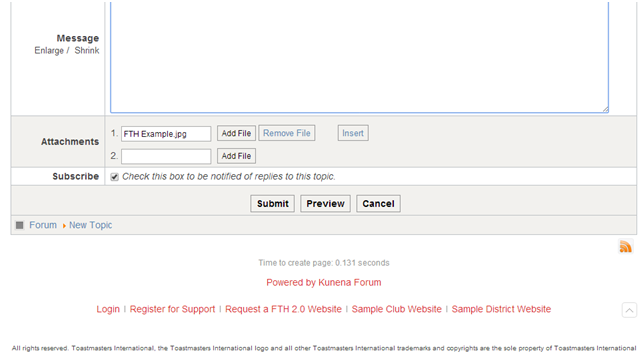
- Below the message field is a button named Add File. Click on the Add File button. Navigate to the folder (or desktop) where you saved the picture. Click the file name and then click the Open button.
- The file name will now be listed in the attachments.
- Click the Submit button.
Search Keywords: Screen Shot, screenshot, Screen Capture, attachments, Paint, Paintbrush, troubleshooting